I was recently asked on Twitter how to approach building a PC for the first time. What followed was a thread of Tweets with some suggestions and I thought, it might be an interesting topic to put in a blog format as well.
Easy and Hard
Before you start it’s important to understand, as long as you’re not doing custom liquid cooling or other odd customization, putting everything together is the easy part of the process. You can watch some YouTube PC build tutorials and if you know how to use a screwdriver and can follow instructions, you’re good to go. The hard part is picking out the components, as it requires knowing what you want, what your budget is and researching what works best for you.
What for?
The first step is to figure out your use cases. Do you use it just to browse the internet? Doing office work? Do you play games? Do you play competitive games or the latest and greatest? Does it matter if it makes a bit noise?
All these questions will move the needle around between low-end, mid-tier and high-end, since you can’t game properly without GPU, but you also don’t need your Word rendered at 4K with 144Hz.
Money Money Money
The second step is to think about the budget. It’s just an estimation to give some guidance in picking out parts, as you don’t want to spend $500 on a GPU, when your total budget is $700. I usually think in the following four buckets:
- $500 – $1000: Low-end to mid-tier
- $1000 – $1500: Mid-tier to lower high-end
- $1500 – $2000: Large section of the high-end
- $2000+: The sky is the limit
CPU Wars
After the rise of AMD in 2018/2019 there are two camps (again) when it comes to picking CPUs: Intel or AMD
Unless you want to depend on embedded graphics chips (i.e. no dedicated GPU), I’d go for an AMD processor. Their 7nm processors technology is currently quite a bit ahead of Intel and they innovated a lot in the whole chiplet design as well. It’s important to also look a bit into the future, because once you pick a processor type, you have to pick a motherboard that supports said processor socket, as such you can upgrade your CPU of the same type, but switching between one or the other, will also require you to buy a new motherboard.
I recommend to do some research of your own to see where the market is at right now. And especially check out some benchmarks. Sometimes the “lower ranked” CPUs can perform better, than the low “higher ranked” CPUs. Lots of room for budget vs performance adjustments.
Mothership
Like I said, once you pick a CPU, your options will automatically be reduced to a selection with compatible sockets. If you want to future-proof yourself, make sure you check what exact versions the motherboard supports and what vendors have already announced as supported socket for their future products.
There are many choices when it comes to motherboards, but for me it was always relatively easy to just pick one, that had enough PCIe slots, enough SATA connections and enough RAM slots. Gigabit networking is kind of a given and most will also come with a built-in 5.1 or 7.1 sound card. Don’t forget to check the number and types of USB ports. And finally, I highly recommend you pick one that supports M.2 or similar SSD drives.
Pixel Canon
Here we basically have again two different camps you can pick from: Nvidia or AMD. Everyone and their grandmother has an opinion on what’s best, but in my experience it doesn’t really matter. Unless you’re using Linux, then make sure to check the driver options available to you. As far as I know, you can’t use the popular Mesa driver with Nvidia and the proprietary Nvidia driver can cause a lot of headaches…
On this part you can probably waste the most time researching and comparing performance benchmarks. Not caring too much about highest fidelity, I personally would also check the heat output and noise level, because it’s quite annoying to have your system constantly at high temps and/or lots of loud fans spinning, just to get some cooler air in.
This item is again one that can vary the most, when it comes to budget vs performance. And don’t forget, if you don’t play games (beyond minesweeper or solitaire) you don’t really need a dedicated GPU, as long as your CPU has a built-in graphics chip.
Download More RAM
No, you can’t download more RAM, but it’s usually quite easy to upgrade over time. If your budget doesn’t allow it, you can also just start with eight gigabytes and upgrade some months later. Four things to consider however:
- You should definitely get two RAM sticks over a single one, because of dual channels you get more performance as the load can be better distributed.
- The frequency/speed usually isn’t noticeable, but make sure it’s compatible with your motherboard/CPU and if I remember correctly, it should also be the same, across all the RAM sticks.
- There are noticeable difference between DDR3, DDR4 and DDR5. It’s probably best to at least go with DDR4, if the budget allows it, you could also future-proof a bit with DDR5. Again make sure it’s compatible with your motherboard.
- Except for low-end builds, you should probably go with 8 GB as minimum and most use cases are totally fine with 16 GB. 32 GB is usually overkill and 64+ GB should only be considered if you do work that requires it (e.g. VMs, lots of data processing, large databases, etc.).
Personally, I never worried too much about this and just picked up some cheap sticks with some okay-ish speed. If you want to waste some of the budget, you can also go with fancy looking ones…
Power
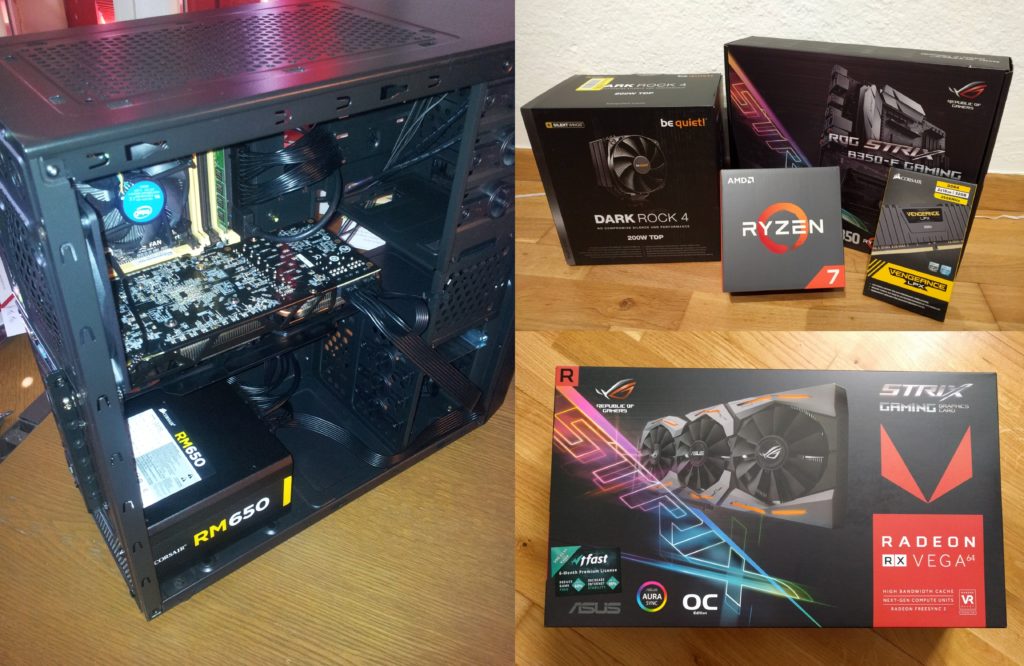
Use some online power supply calculators to figure out what wattage your system needs. Do not cheap out on this item. You want a good quality PSU as they will last you a long time and make sure they can handle power spikes and won’t output jittery power that makes your system go crazy. I’m very happy with my Corsair power supply and have not had a single issue so far.
Ah yeah and just because power supplies can provide higher wattage, doesn’t mean they will do so. They of course only use as much power as the system demands. However, it is recommended to have a slightly more powerful PSU than your system requires, so it won’t hit the limit during spikes and isn’t constantly running at its limit, which contributes to a longer lifetime.
One more thing to consider is modular cable management, which means that the cables are detachable from the PSU block itself. That makes it easier to just have the cables in there, which you actually need and if you fancy, also allows for customization of the power cables. I like it, but it’s really more a convenience than a must.
Case In Point
For my build I went with a very cheap case and it still works fine, but I believe if you spend a bit more, you can enjoy working on your PC a bit more. Overall it’s important that you have enough room for everything. GPUs can be quite long these days, so make sure there’s actually enough space between the back and the hard disk tray. CPU coolers can be huge and need enough depth, so make sure the cooler won’t stick out of the case. And finally, there should be enough mounting places for fans, otherwise you’ll have a hard time getting some good airflow configurations going.
I have no experience with custom liquid cooling, so I won’t really mention anything in that regard. Personally, I would not recommend it for your first build, as it’s a bit more difficult and without any experience, you may feel quite lost. Also more chances to actually break something when the liquid spills.
Stock CPU coolers work, but it’s usually recommended to get a slightly better one. If you don’t intend to overclock you don’t necessarily need anything huge. You could however consider some closed water loop.
There are different ways you can configure your fans for intake and outtake, just make sure you have a concept and that you mount the fans correctly. A lot of fans have arrows that show the spinning direction and airflow, plus you can use some paper to check, once installed. Generally you should make sure that cool air is blown through the CPU/GPU coolers, that hot air is getting moved outside as quickly as possible and that one component isn’t outputting its heat directly onto the neighboring component.
Storage
As mentioned before it’s highly recommended to pick up some M.2 drive or similar for your OS and essential applications. Fast disk access will make a lot of tasks feel a lot faster and consequently you’ll enjoy it more. Other than that, you can pick whatever disk and capacity you like, just make sure you have enough and enough long SATA cables to hook everything up.
Assemble!
As I said, this is the easy part. Get a desk with enough space. Make sure you’re not statically charged to not destroy some of your parts. Get your parts. Get your screwdriver. And you’re ready to go.
It’s highly recommended to assemble the motherboard and CPU (and GPU) outside of the case first, e.g. on the motherboard cardboard box, and start it once, to check that it actually posts and that you didn’t get defective parts. If it goes beyond the bios screen and tries to load an OS you’re good to go.
I won’t go much more into detail here, but make sure you think of the build order, so one part doesn’t block the other. Also a pro tip: Don’t forget to pull the CPU power cable from the back behind the motherboard. Once the board is in, you usually can’t do it anymore and it’s too much effort to unscrew everything again. Check some build guides on YouTube for all the details and demonstrations.
Happy planning and building!