Most people have seen or probably even done some workflow automations through IFTTT (IF This Then That) or Zapier. While the free plans on either of these platforms are enough for some very simple workflows, anything a bit more complicated comes at a price (e.g. for Zapier $19.99/month), granted even then IFTT remains attractive ($2.50/month or $5.00/month). There are a number of other similar services available “in the cloud”, however I’ve had my eye on some self-hosted platforms for while, not just because it’s cheaper, but also for privacy/security reasons. Automating personal workflows means, that the workflow engine somehow needs to get access to your personal data, in order to trigger events or perform other tasks. This in turn means, that we have to grant the engine permission to various accounts, which requires a lot of trust into such a platform. Running my own workflow automation tool removes the need to trust a third-party.
Doing a web search quickly leads to the two open source, self-hostable tools: Huginn and n8n.io. Doing a very rudimentary comparison, my choice for n8n.io was quite easy, mostly because of a nicer UI and a large list of existing integrations.
Setting Up n8n
The official documentation offers multiple step by step guides to set up n8n either on your own Docker host, directly with npm, or on a few of the popular existing hosting platforms. I went with the basic Docker-Compose option with a few modifications here and there.
Traefik
By default the provided docker-compose.yml uses the Docker image traefik as a reverse proxy to handle incoming traffic, including Let’s Encrypt TLS certificate issuing. I’ve never used it before, but was surprised at how easy it was to use in combination with other Docker images, especially since I’ve tried some of the manual setups for certificates issuing before. As such, if you don’t already have a reverse proxy running, then this seems like a great options, especially since n8n has native support for it.
Nginx Proxy Manager
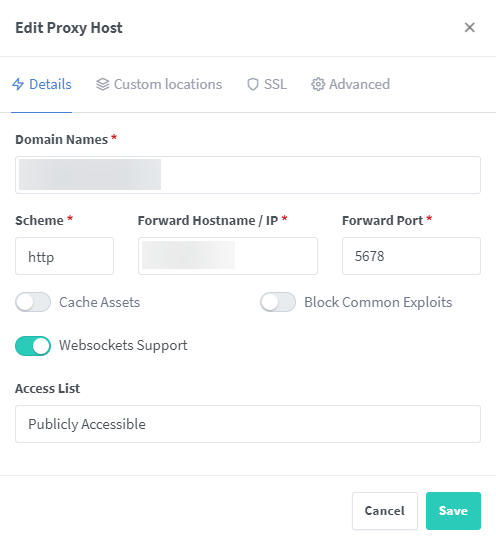
For one project I’ve already been using the Nginx Proxy Manager, which offers a nice web UI to configure different domains and route them to the wanted application, and thus all that was needed, was the registration of a new subdomain and correct configuration. Make sure to enable websockets support for your host and I guess it might not hurt to enable HTTP/2 on the SSL tab as well.
Don’t forget to remove the traefik service from the docker-compose.yml and set traefik.enable=false for the n8n service.
  n8n:
    image: docker.n8n.io/n8nio/n8n
    restart: always
    ports:
      - "127.0.0.1:5678:5678"
    labels:
      - traefik.enable=false
...
Getting It Working
Initially the reverse proxy only returned 404 messages. I then ran the containers in attached mode, so I saw all the logs directly, which revealed an reoccurring error from the n8n container:
permission denied, open '/home/node/.n8n/crash.journal'
Turns out that n8n requires write access to the .n8n directory, which is mapped to a volume (or host directory) in the docker-compose file. After making sure the directory is writable by using chmod, n8n started successfully. 🥳
Example
The powerful thing with n8n is, that it offers a lot of out-of-box API support. I’ve already built an automation, where I fetch Excel data from my OneDrive account and store information in Todoist with minimal effort. The most time was spent understanding the flow nodes and putting my rusty JavaScript knowledge to work in the code nodes. For this post here, I however played around a bit with Google services and OpenAI, just because it was tempting to do so.
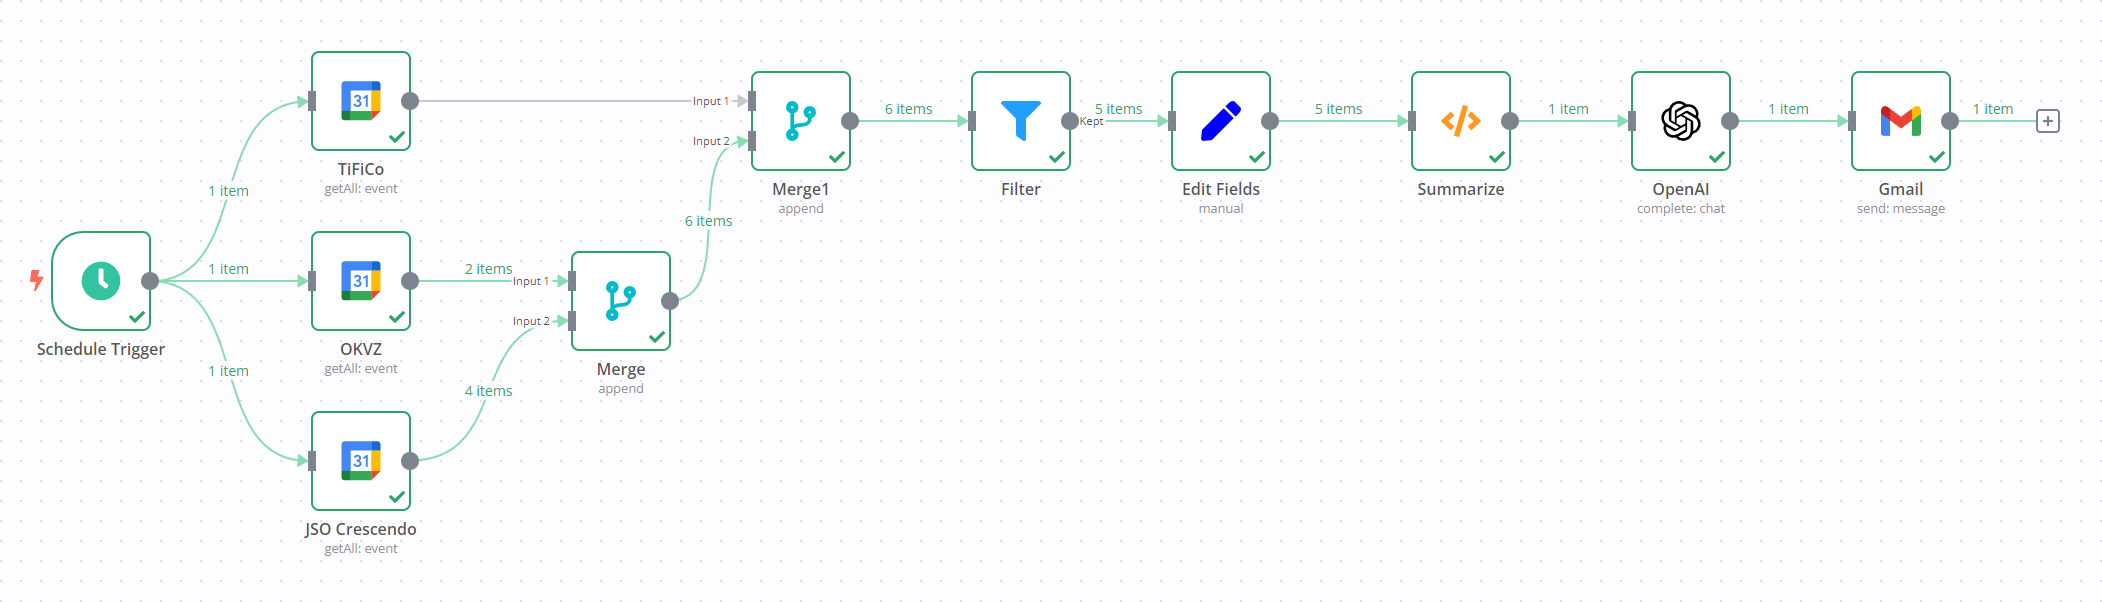
I’m currently helping out in three different orchestras and have set up different dedicated calendars in Google Calendar. The workflow gets all orchestra calendar entries, creates a list of them and has OpenAI generate a summary that is then sent to me by email.
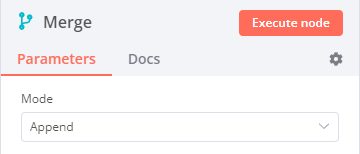
There’s no n-to-1 merge node, so I had to use two merge nodes and merge the results two at a time.
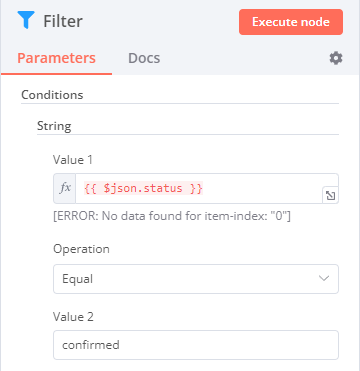
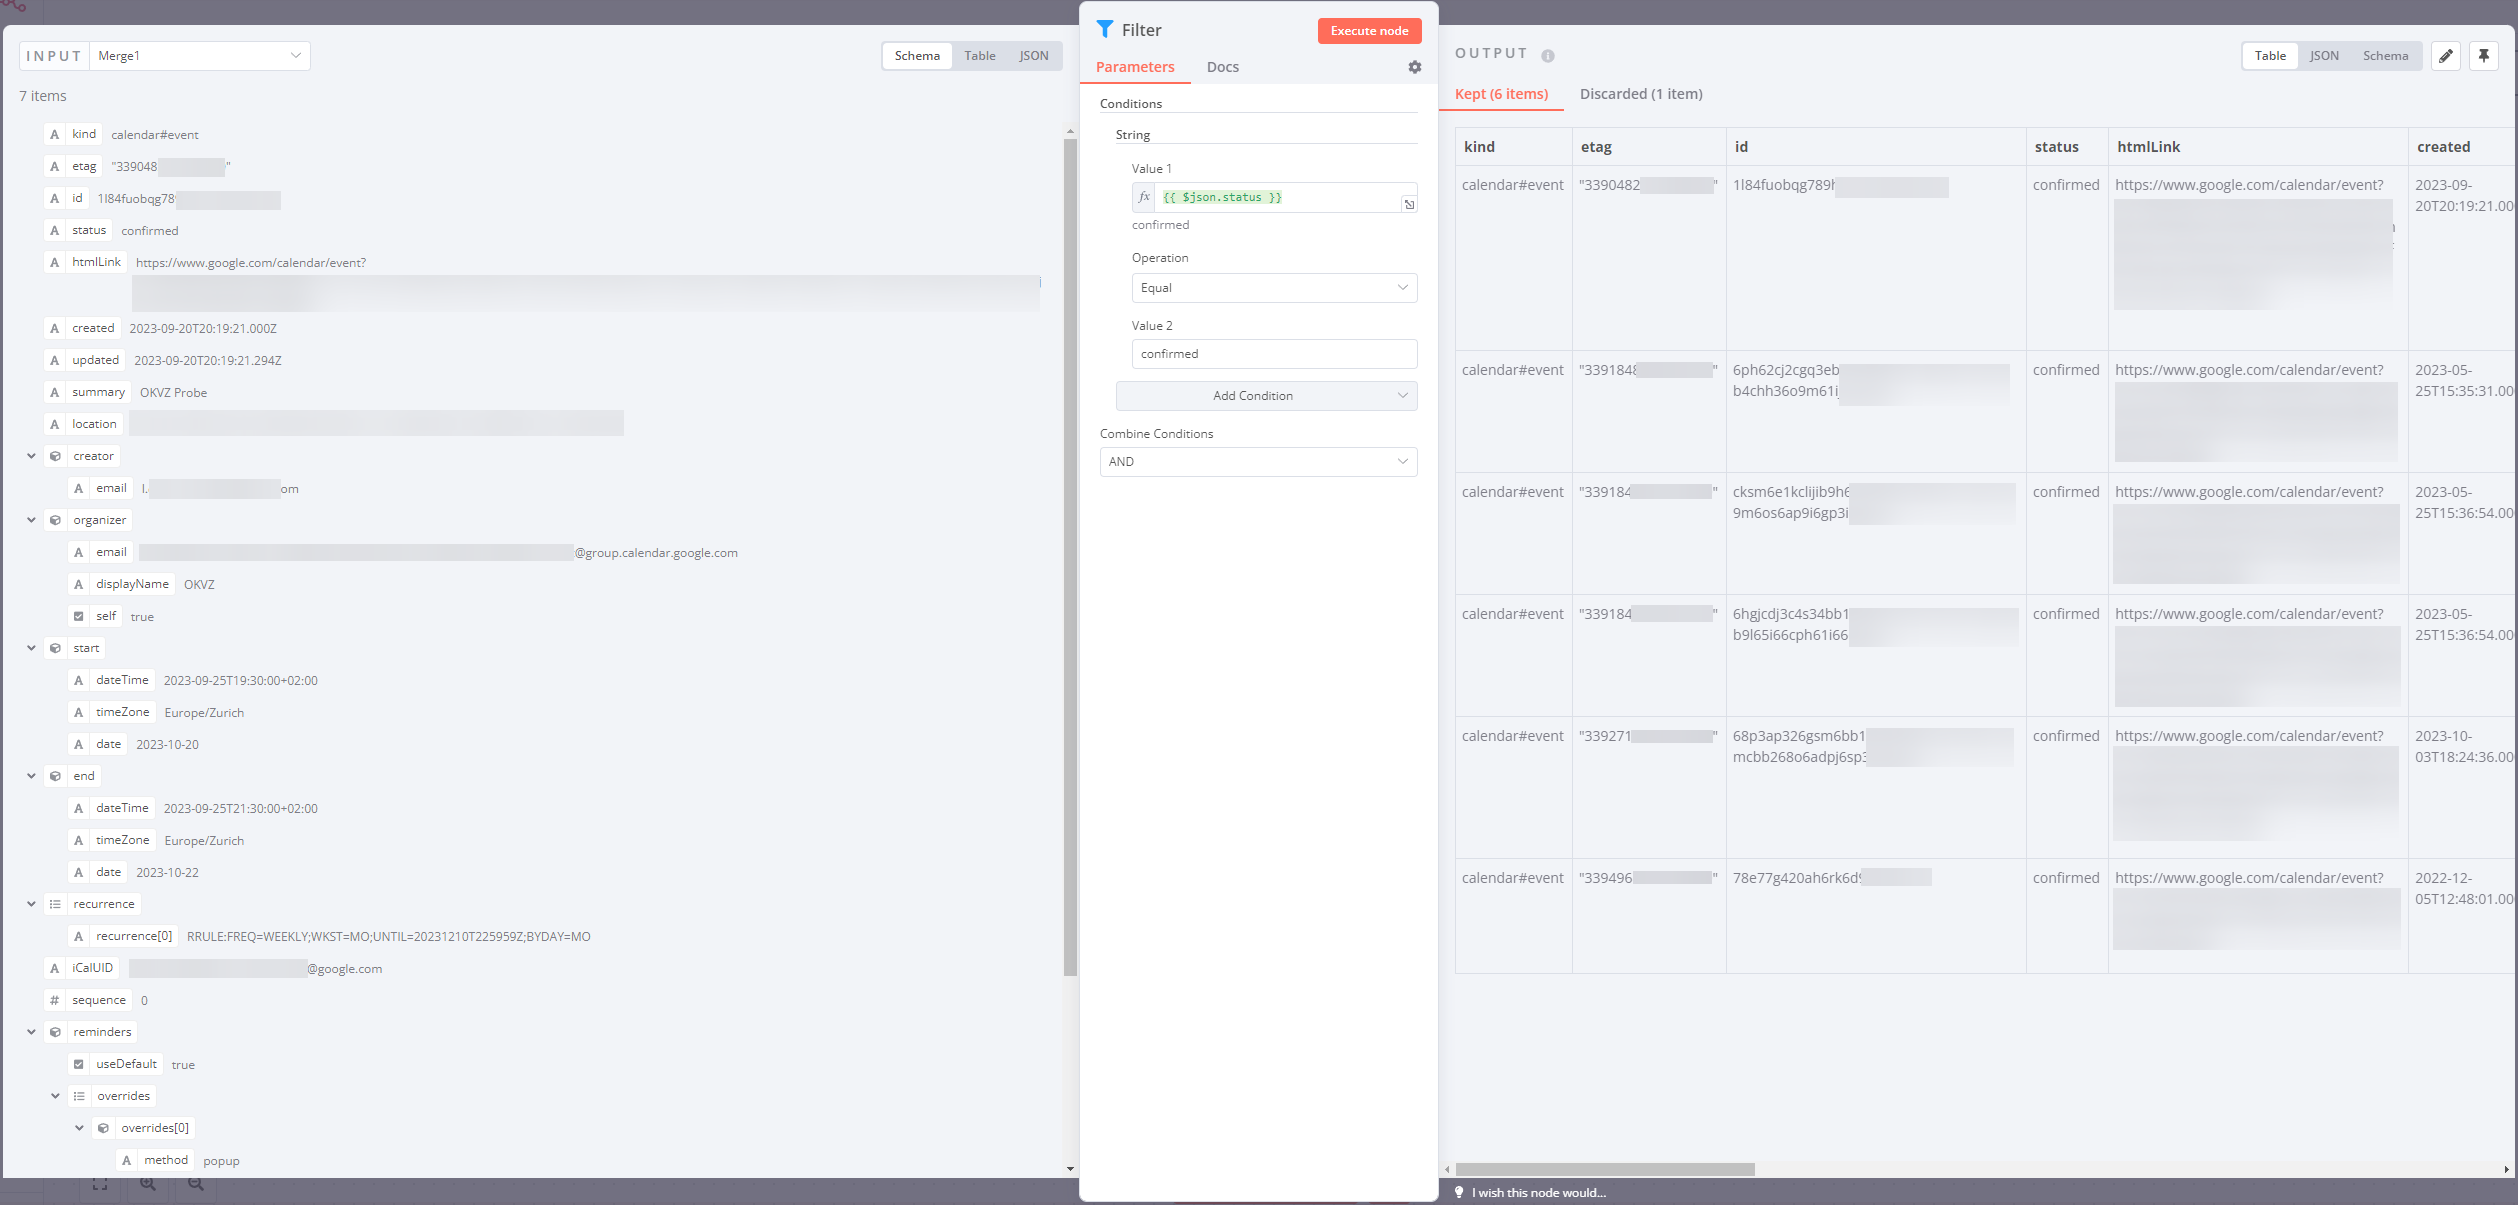
The filter makes sure we’re not getting any cancelled events listed, which seems like a missing filter feature in the Google Calendar node itself.
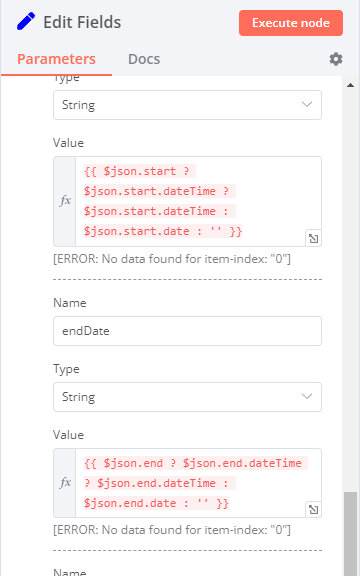
Then I extract just the fields I’m interested in and ensure that there’s a default value, in case nothing is set in the event. It’s a very powerful node, because it doesn’t just allow you to “edit” fields, but can really help with filtering the wanted field information, shape/transform it into the structure you need for further processing, and deal with certain failure cases, which would otherwise need handling in some unrelated node.
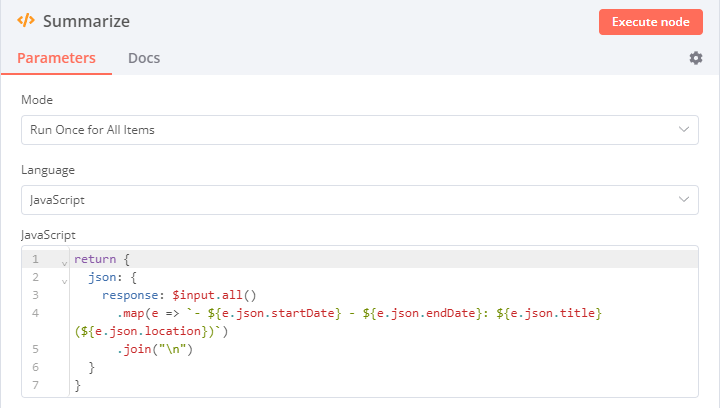
The Summarize code node takes all the event entries and produces one string of text. The code node can however be used to do anything you want with the data. It could replace the merge, filter and edit nodes, but it’s much simpler to have dedicates nodes for them and easier to see on the workflow overview as well.
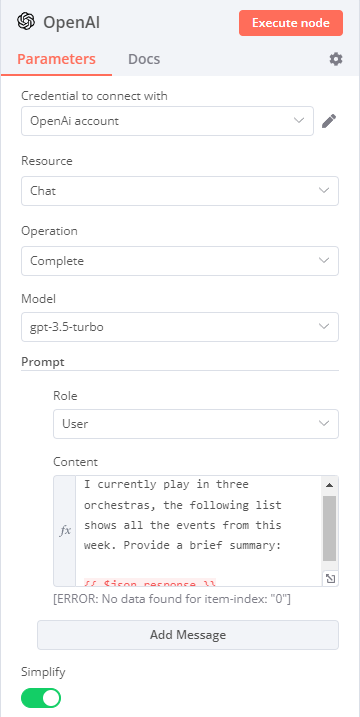
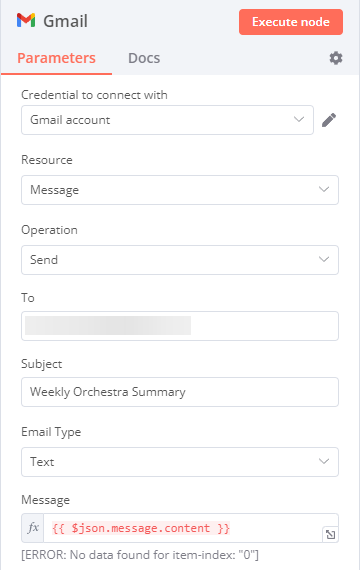
Finally we call OpenAI and send an email with the summary response. Keep in mind though, that in order to use the OpenAI API you have to add credits to your account, but luckily you don’t need to subscribe to ChatGPT and you can just do a one time payment. However, you need to be careful with the amount of requests you do, as there are multiple levels of limits (RPM, RPD, TPM), plus the responses have so far been relatively slow for me.
The most complicated part about this workflow was getting access to the Google services, as you have to create a new Google Cloud app, register your domain with the Google Console, set up a consent screen, grant permission to the wanted Google services, and only then can you set up OAuth for n8n. Luckily n8n has excellent documentation on basically all the supported services. Sometimes they may be a slightly outdated, but it’s still very helpful to figure out what to do.
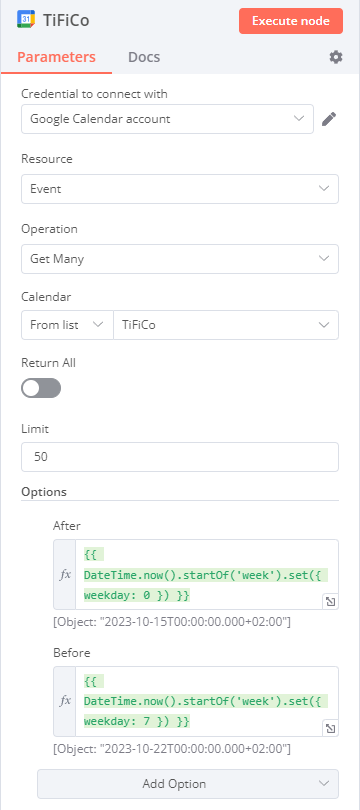
One thing I quite dislike about n8n is its date handling or lack there of. You can either specify and fixed date or use JavaScript with support from the Luxon library, but I’d have expected some options for daily/weekly repeating dates, or at least relative dates to today or relative to the execution date. I can’t really think of anyone using a fixed date, since that would mean, you’d either have to update it all the time or the workflow is used only once. At least the JavaScript integration is quite straight forward and once you get the hang of Luxon’s API, it also quite nice to work with.
What is however quite awesome is, that the node editor is always showing the input structure with example data and if you execute the node, you get to see the output. Be aware though, that if you use a third-party node, that you will really be calling the third-party, so be ready to delete test messages if you say publish something to Discord. You can also drag and drop any of the input fields into a value field, so you don’t even have to type anything.
Additional Tips & Tricks
When you use a IF node, keep in mind that both true and false outputs can be utilized “at the same time”, as each entry is evaluated separately. So if you get 100 entries, then you could have say 80 that pass the check and 20 that don’t. It took me a moment to switch my thinking from a one-time process flow to a one item at a time flow planning. You can use a summarize code node as I’ve shown above to collect all the nodes and produce a single output.
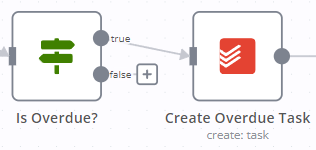
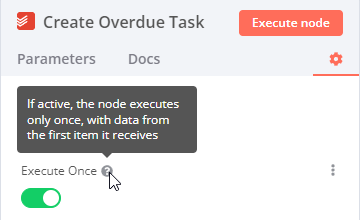
An additional tip in that regards is, if you want to prevent the accidental execution of a node for every input item (e.g. creating a single Overdue Task instead of 100), then you can open the settings of said node and select “Execute Once”.
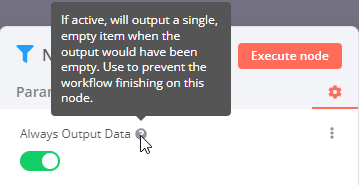
By default the flow stops if there’s no result being produced, but sometimes you still want to continue and have a check afterwards that might determine what to do next. In those cases there’s an additional node setting to “Always Output Data”. It will just produce a single empty item.
Summary
I’m certain, I’ve only scratched the surface of possibilities with n8n, but I’m quite happy with what I’ve already been able to achieve. I hope the post gave a good introduction and overview of what is possible. See the available Action node list to understand the scale of what you can automate out of the box with a few clicks. If you have any questions, don’t hesitate to reach out to me or ask by leaving a comment.